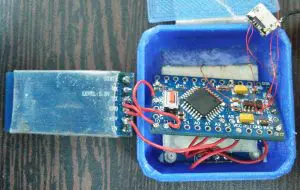
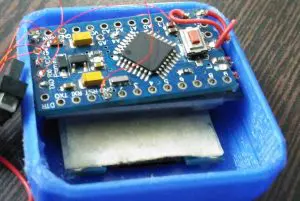
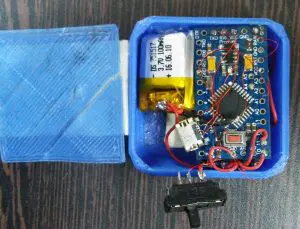
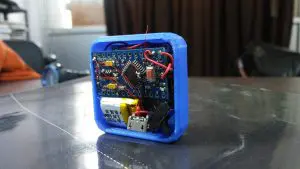
Note : This article was written after project was partially completed, so i don’t have better images.
There are hundred’s of projects for building “Smart watch using arduino”, I have curated a list of better projects at end of this article. I didn’t plan to copy any of given projects but at end it turned out that world is a big place. So this blog post is my effort in developing “My smartwatch”.
Hardware :
- Arduino Pro mini
- Bluetooth module (HC-05)
- OLED Module (SSD1306)
- LiPo Battery (110 mAh)
- Thin copper wire, single strand if possible.
- FTDI Breakout board or any way to program Arduino pro mini.
- Micro USB female pins
- Membrane Tape
Tools :
- Soldering iron – along with soldering wire, flux, etc.
- 3d Printer/Good Crafting Skills to make a case
- Working brain ! (Recommended)
Software :
- Android Phone (BTTerm) /Linux System(minicom, rfcomm), Windows Phone, Windows *, Mac OS Users are on their own but you can search for “Bluetooth serial terminal”
- Arduino IDE
- Common Sense ! (Recommended)
The guide here is definitely not a step by step guide, it just tells the flow (an algorithm not code).
- Desolder pins in your OLED display. Yea, all header pins.. for noobs like me it’s a tough task.
- Desolder pins of HC-05/HC06 if it has, if you got module without header, skip
- Connect all GND, VCC pins of arduino, hc-05, oled Easy ?
- Solder oled pins SCL -> A5, SDA -> A4 to arduino.
- Solder hc-05 pins TX -> 10, RX -> 11 to pro mini.
- Then Solder VCC with a switch (Any you prefer) & to battery.
- Upload the code
- Connect to HC-05 using phone & send any data.
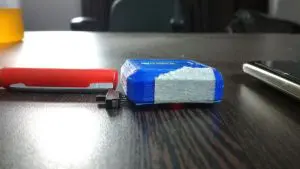
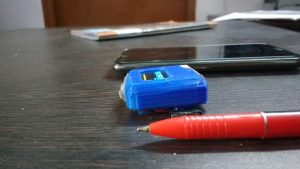
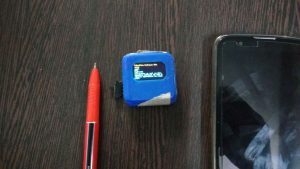
Click here to watch working video.
Below is arduino code :
#include "U8glib.h"

U8GLIB_SSD1306_128X64 u8g(U8G_I2C_OPT_NO_ACK);	// Display which does not send AC

#include <SoftwareSerial.h>
// software serial #1: RX = digital pin 10, TX = digital pin 11
SoftwareSerial bluetooth(10, 11);
#define buflen 10
 char str[buflen+1];
 int strCount=0;


// setup input buffer
#define LINE_MAX 30
uint8_t line_buf[LINE_MAX] = "Booting...";
uint8_t line_pos = 0;

// setup a text screen to support scrolling
#define ROW_MAX 12


uint8_t screen[ROW_MAX][LINE_MAX];
uint8_t rows, cols;

// line height, which matches the selected font (5x7)
#define LINE_PIXEL_HEIGHT 7

// clear entire screen, called during setup
void clear_screen(void) {
  uint8_t i, j;
  for( i = 0; i < ROW_MAX; i++ )
    for( j = 0; j < LINE_MAX; j++ )
      screen[i][j] = 0;
}

// append a line to the screen, scroll up
void add_line_to_screen(void) {
  uint8_t i, j;
  for( j = 0; j < LINE_MAX; j++ )
    for( i = 0; i < rows-1; i++ )
      screen[i][j] = screen[i+1][j];

  for( j = 0; j < LINE_MAX; j++ )
    screen[rows-1][j] = line_buf[j];
}

// U8GLIB draw procedure: output the screen
void draw(void) {
  uint8_t i, y;
  // graphic commands to redraw the complete screen are placed here
  y = 0;       // reference is the top left -1 position of the string
  y--;           // correct the -1 position of the drawStr
  for( i = 0; i < rows; i++ )
  {
    u8g.drawStr( 0, y, (char *)(screen[i]));
    y += u8g.getFontLineSpacing();
  }
}

void exec_line(void) {
  // echo line to the serial monitor
  Serial.println((const char *)line_buf);

  // add the line to the screen
  add_line_to_screen();

  // U8GLIB picture loop
  u8g.firstPage();
  do {
    draw();
  } while( u8g.nextPage() );
}

// clear current input buffer
void reset_line(void) {
      line_pos = 0;
      line_buf[line_pos] = '\0';
}

// add a single character to the input buffer
void char_to_line(uint8_t c) {
      line_buf[line_pos] = c;
      line_pos++;
      line_buf[line_pos] = '\0';
}


void setup(void) {
  Serial.begin(9600);
  bluetooth.begin(9600);
  Serial.print("Hello");
  // bluetooth.println("Hi");

  // u8g.firstPage();
  // u8g.drawStr( 0, 0, "Booting..");
  // set font for the console window
  u8g.setFont(u8g_font_5x7);
  // u8g.setFont(u8g_font_9x15);

  // set upper left position for the string draw procedure
  u8g.setFontPosTop();

  // calculate the number of rows for the display
  rows = u8g.getHeight() / u8g.getFontLineSpacing();
  if ( rows > ROW_MAX )
    rows = ROW_MAX;

  // estimate the number of columns for the display
  cols = u8g.getWidth() / u8g.getStrWidth("m");
  if ( cols > LINE_MAX-1 )
    cols = LINE_MAX-1;

  clear_screen();               // clear screen
  delay(1000);                  // do some delay
  exec_line();                    // place the input buffer into the screen
  reset_line();                   // clear input buffer
}


void loop(void) {

   // Keep reading from HC-05 and send to Arduino Serial Monitor
  if (bluetooth.available()){
    char c = bluetooth.read();
    Serial.write(c);
//    uint8_t c;

    if ( line_pos >= cols-1 ) {
      exec_line();
      reset_line();
      char_to_line(c);
    }
    else if ( c == '\n' ) {
      // ignore '\n'
    }
    else if ( c == '\r' ) {
      exec_line();
      reset_line();
    }
    else {
      char_to_line(c);
    }
}
  if (Serial.available())
    bluetooth.write(Serial.read());

}
As told initially my build is not the best one, there are people with better electronics & better output check these :
- http://makezine.com/projects/make-43/open-source-smartwatch/
- http://www.instructables.com/id/Make-your-own-smart-watch/?ALLSTEP
- http://www.tinkernut.com/portfolio/make-smartwatch-old-cell-phone-part-1/
- http://oswatch.org/mkII_build_page_1.php
- https://hackaday.io/project/12876-chronio
- http://blog.zakkemble.co.uk/diy-digital-wristwatch/

Hello, I enjoy reading all of your post. I like to write a little comment to support you.